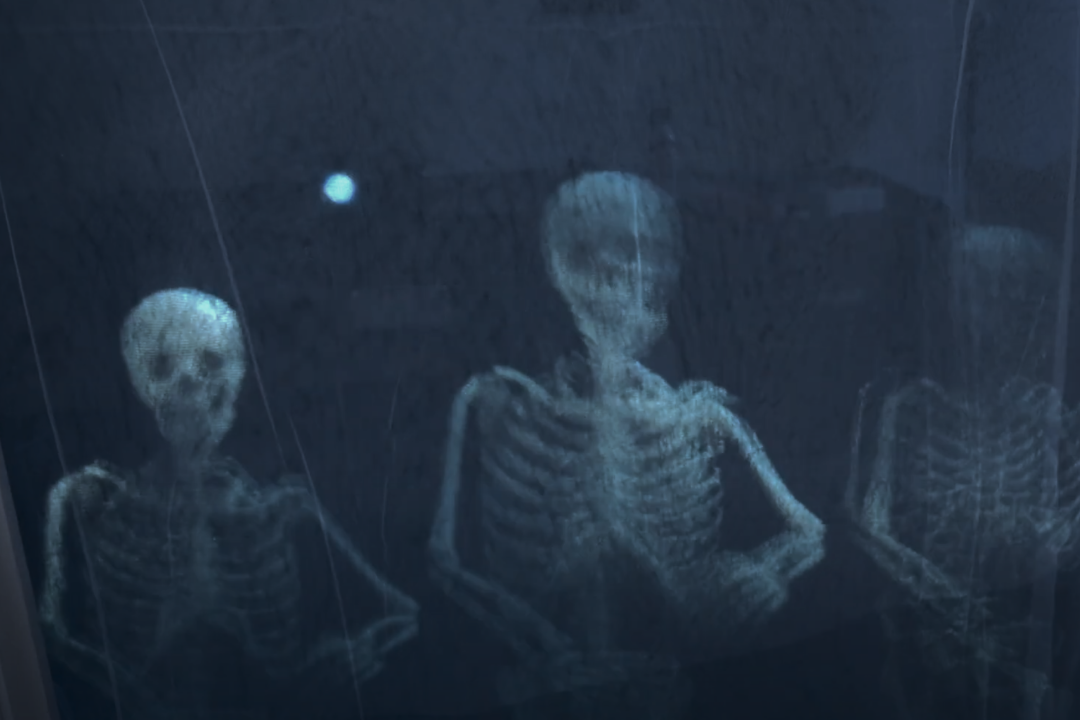
DIY Spooky Ghost Window: How to use a projector to decorate for Halloween
Amber Stefanson | October 11, 2024
Looking for a unique way to decorate this Halloween? It's easier than you would think to decorate your house using a projector. With a few steps, you can turn an ordinary doorway or window into a dynamic Halloween display.
I especially love this technique, there's no need to buy and store decorations. You can use the same projector year after year while keeping your decorations fresh. If you want to mix things up, all you'll need is a new video file to play.
In this article, I'll go over all the materials you need to get started, followed by a video tutorial and in-depth instructions.
What You Need
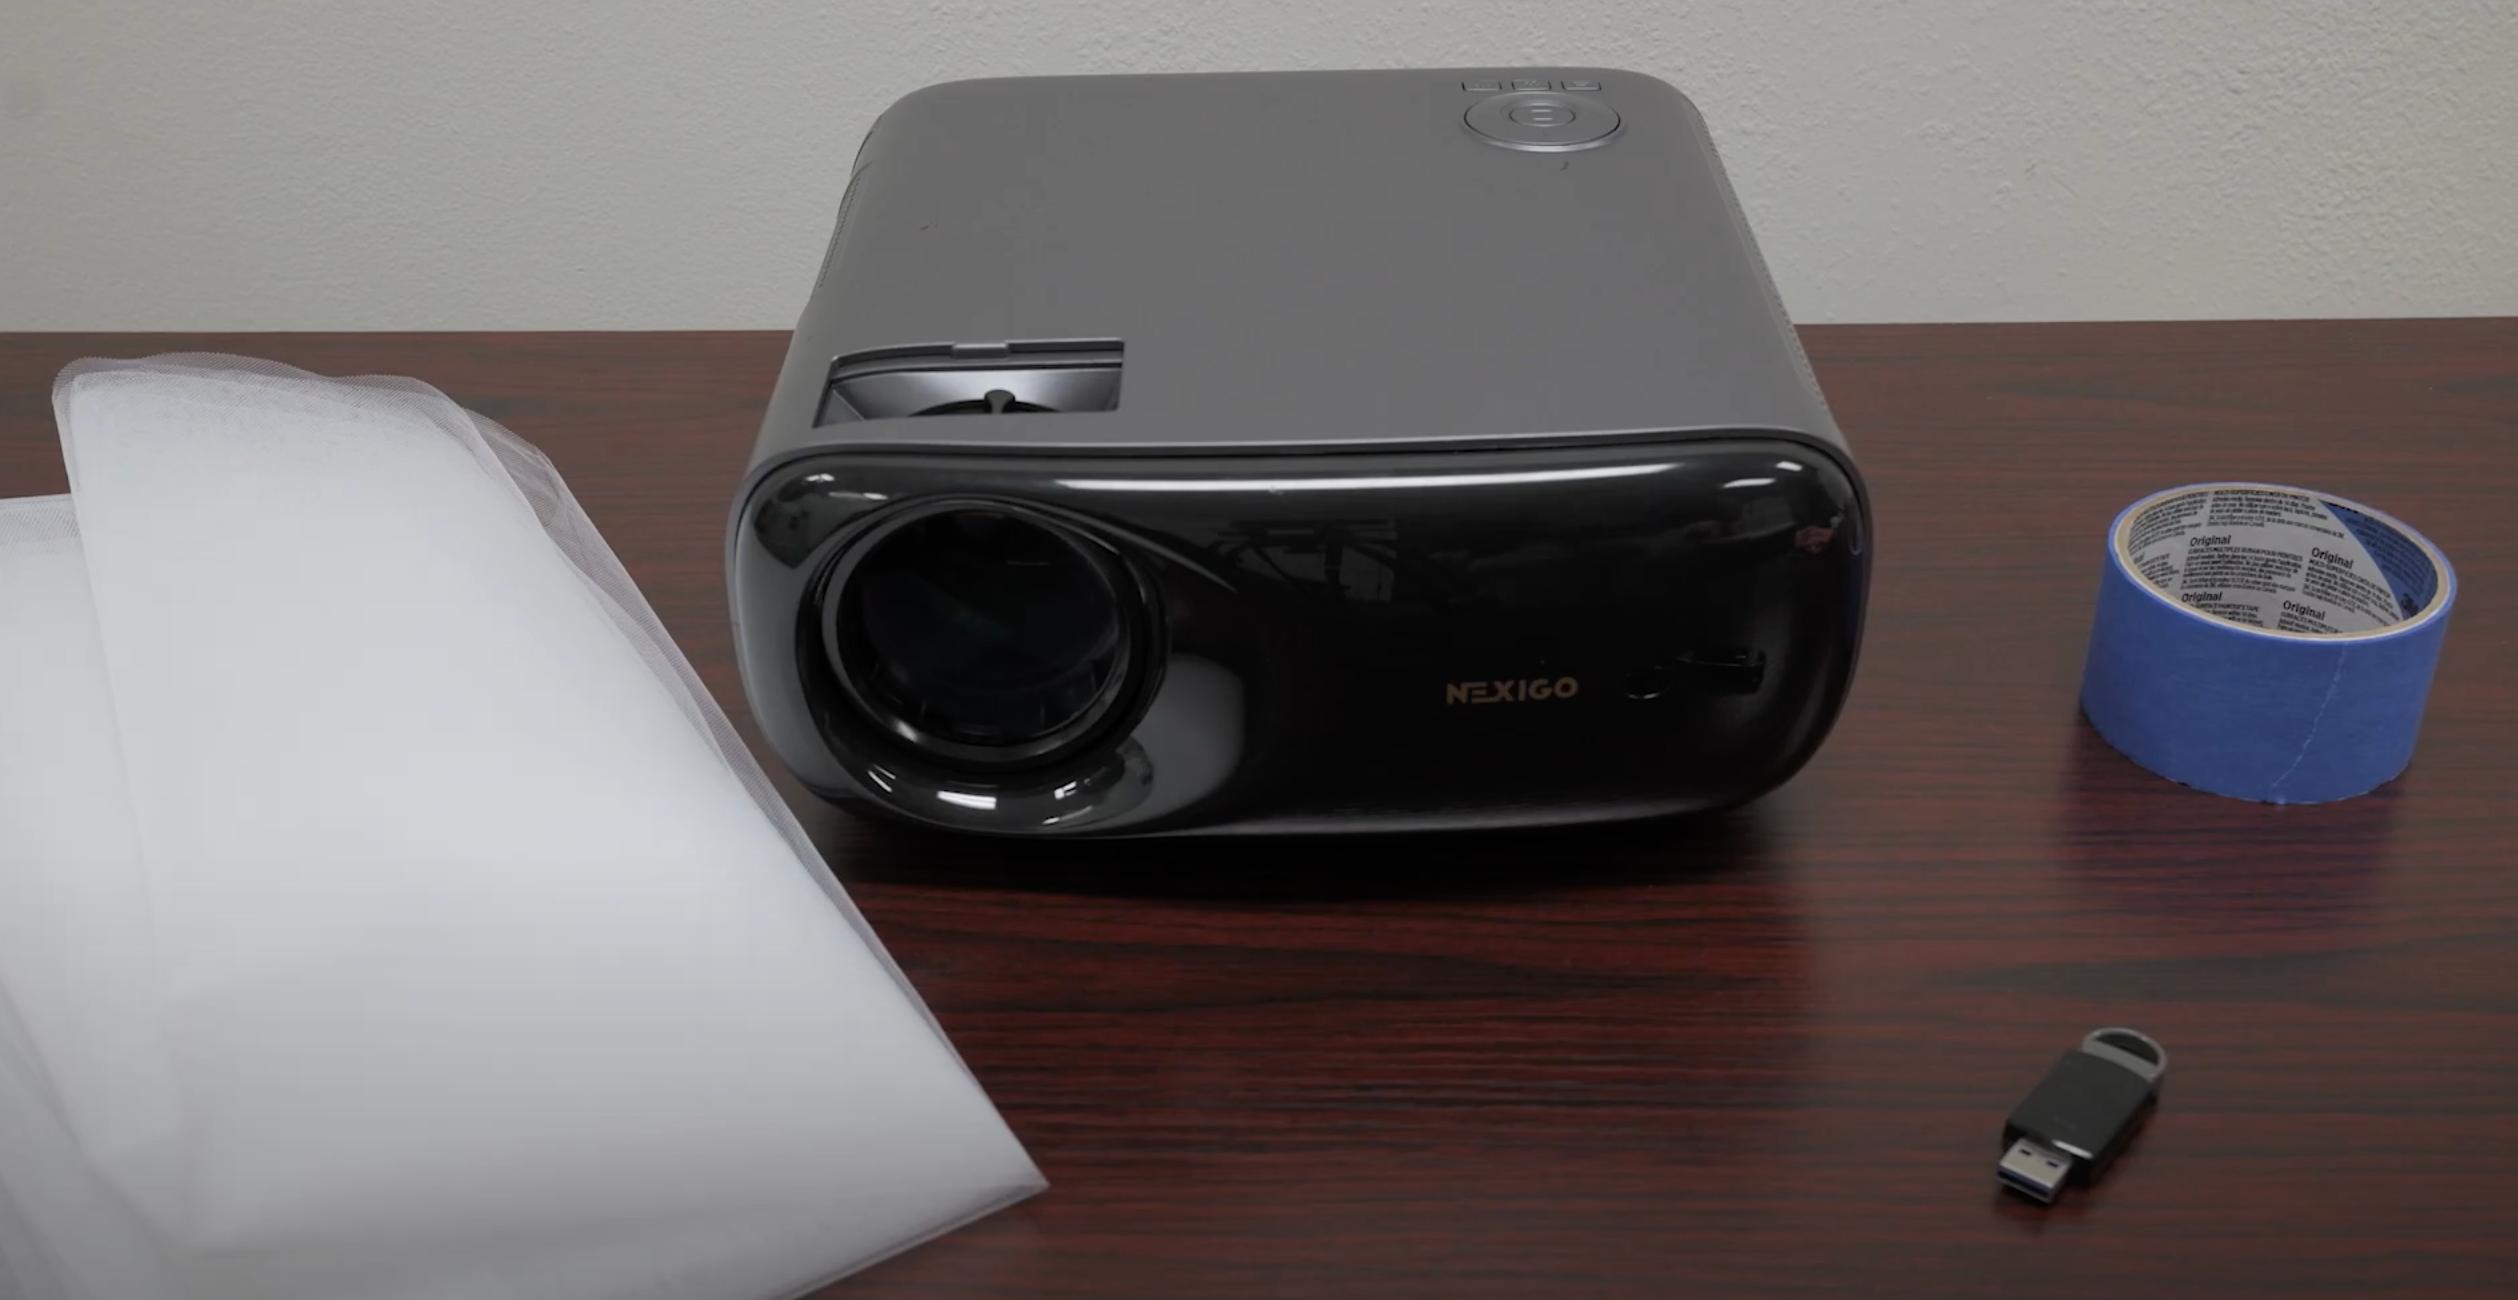
- Projector – nothing fancy; any projector does the trick
- Rear projection screen or fabric – tulle or gauze are great low-cost options
- Measuring tape – to measure window frame
- Pushpins or nails – to fasten the fabric to your window frame
- USB drive or HDMI cable – to transfer video files to your projector
- Video loops – to project onto your window
Video Tutorial
We’ve already tried this in our office and Nick has created a step-by-step video tutorial that you can follow along. Press play for the video walkthrough, or scroll down for the written instructions.
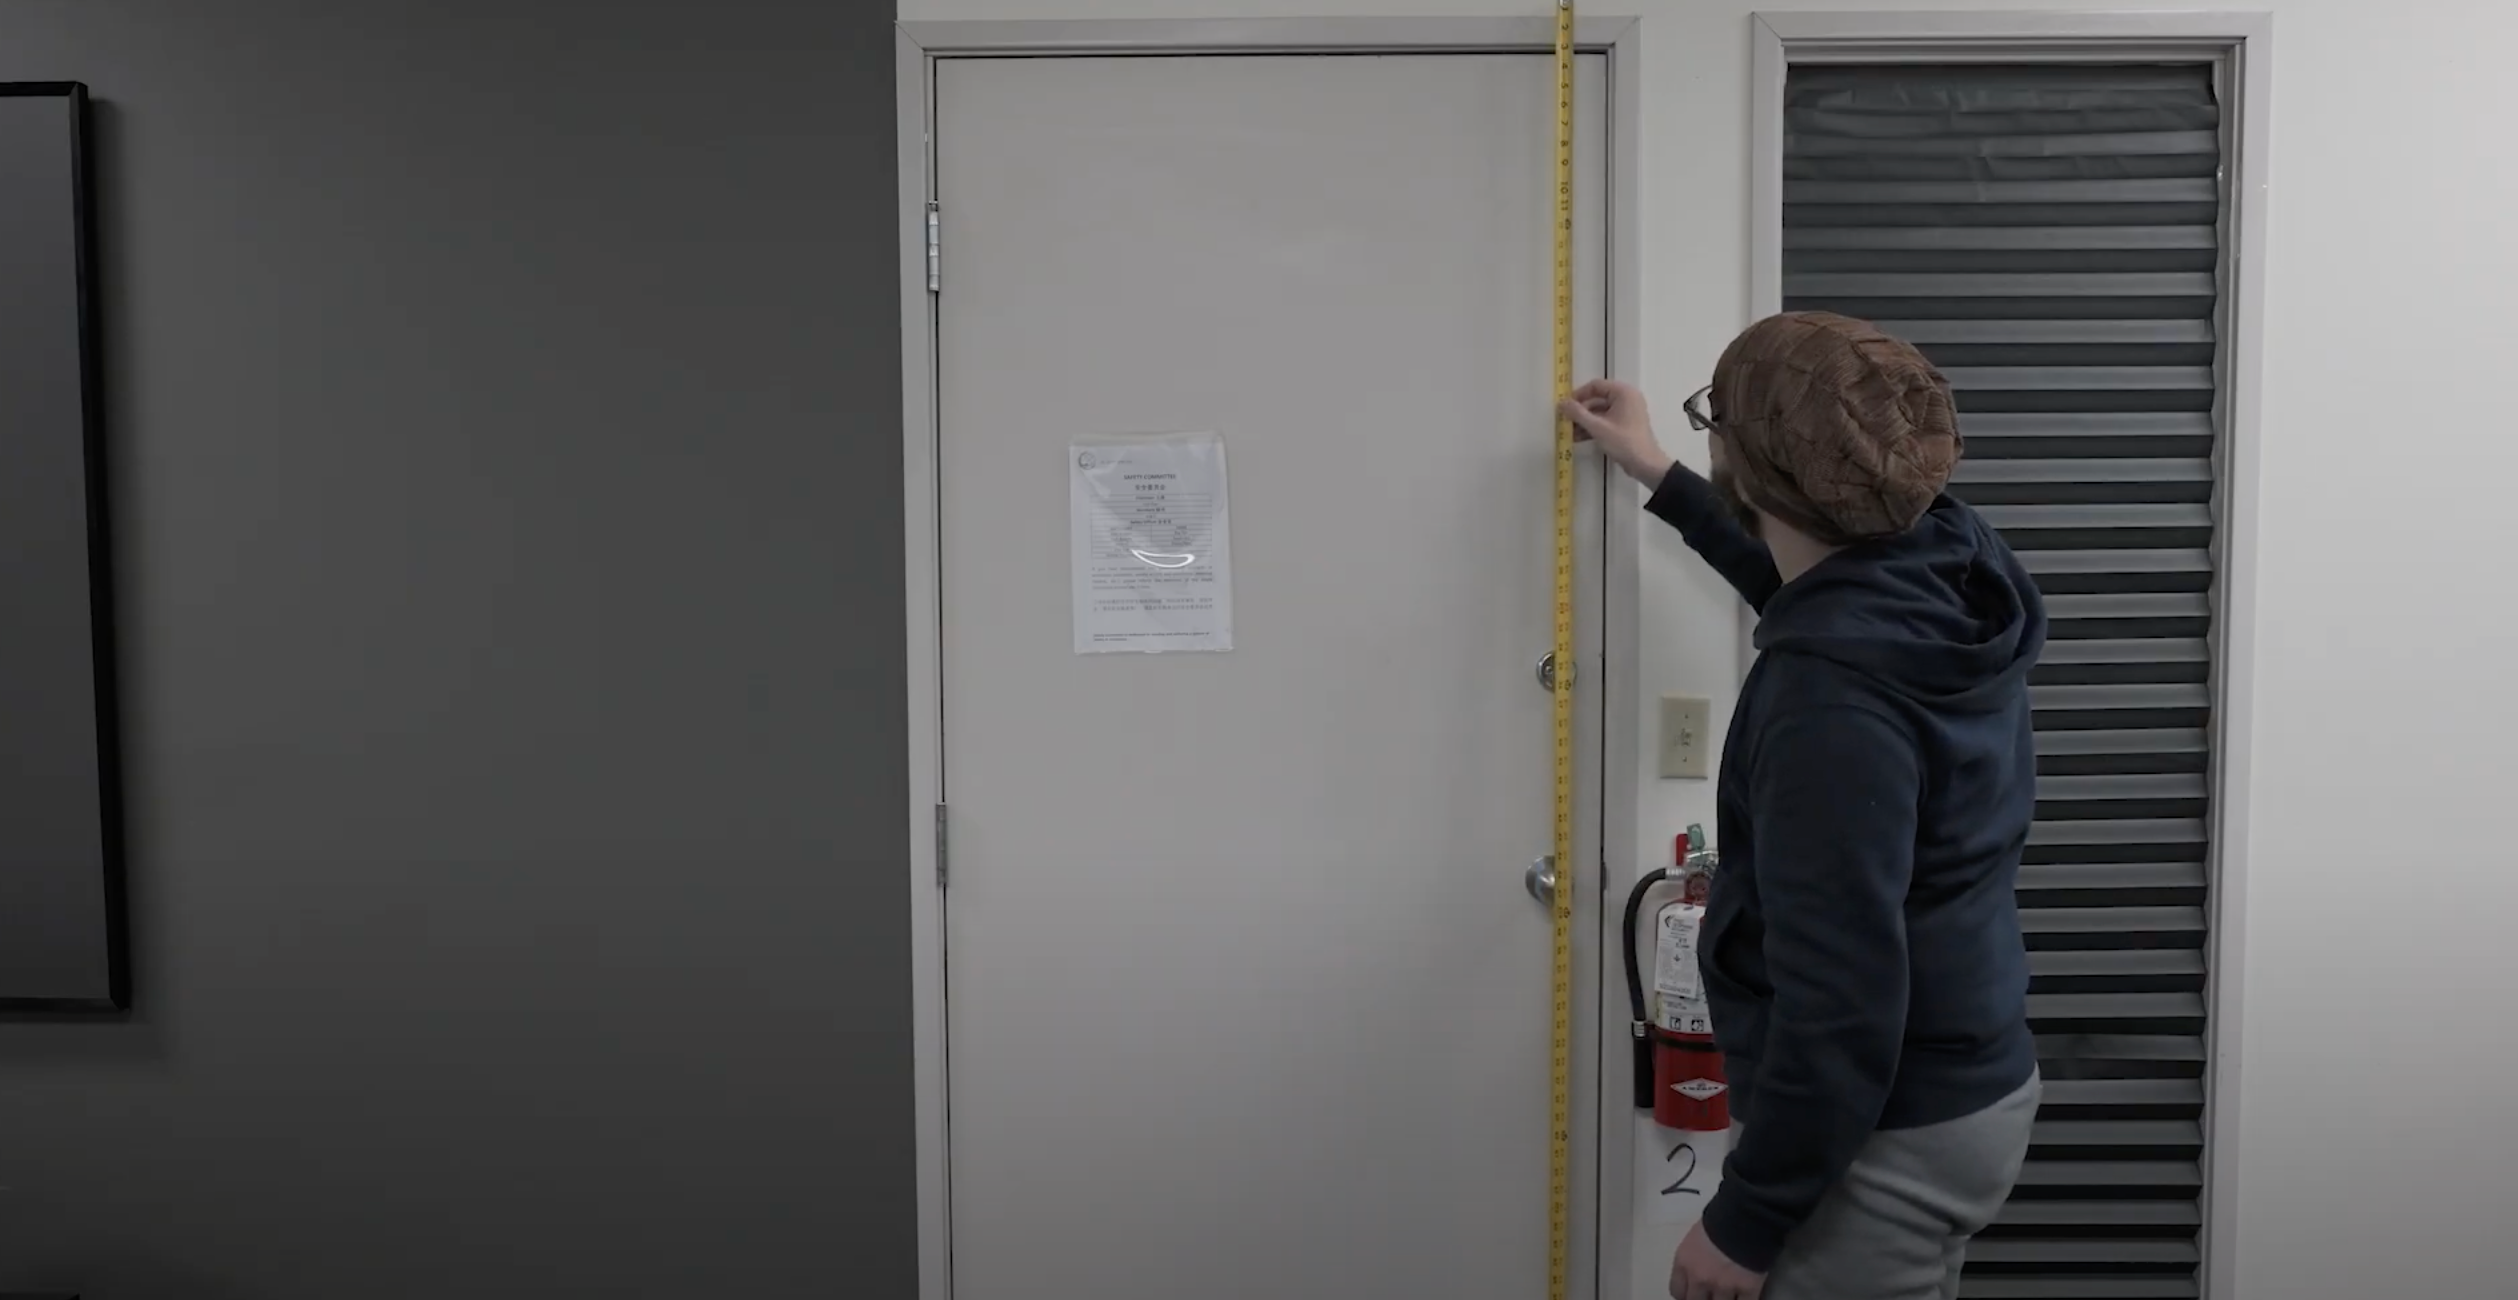
Step 1: Measure Window or Door
Start by measuring your window to determine how large your screen needs to be.
It’s helpful to complete this step before purchasing your rear projection screen or fabric, to make sure that you get enough material to cover your whole window.
Step 2: Attach Screen
Now, go to the window or door frame where that you want to project onto. Gently stretch your screen or fabric across the frame until the entire frame is covered. Secure the screen in place using small nails or pushpins. For renters, painter's tape will also do in a pinch.

Do your best to keep the screen as taut as possible. A good way to do this is to pin the corners first, then place several pins along each side of the screen. Insert one pin at a time, alternating sides and pulling the screen taut in between each one.
If you're using fabric to create your own screen, you may need to add a second layer of fabric. Doing this will help you adjust the amount of light that shines through to the other side.
If there is not enough fabric, too much light will shine through, making the image washed out. If there is too much, not much light will shine through and the image will appear dim and cloudy.
Step 3: Download Video Loops
Now the exciting part: finding the video to project onto your new window display.
There are many options to choose from, ranging from free animations published on YouTube to paid videos designed with Halloween displays in mind. Regardless of which route you want to take, make sure that you find a video loop. If the animation changes too quickly, it will break the illusion.
Here are a few places to start your search.
- Halloween Projections playlist on YouTube (free)
- Etsy sellers ($)
- marketplaceAtmosFx ($$$)
- More recommendations on Reddit
Once you've downloaded your video loops, you can either load them onto a USB drive, or you can connect your projector to your computer via HDMI and play directly from the source.
Step 4: Set Up Your Projector
Now, start up your projector and line it up with your window. Once you're happy with the location of the projector, play the video loop and watch as the video magically fills your window.

Make sure to set the video to loop if necessary. Also, adjust the brightness of your projector as needed to get the best picture quality possible.
Thanks for reading! Stay tuned for more tech tips, or check out our YouTube channel for more creative ways to use your projector.
Like what we do? Stay tuned for more.
Whether you work at home or in the office, NexiGo provides a wide range of quality and affordable technology to elevate your daily life. Our products encompass everything from webcams and portable monitors to projectors and gaming accessories.
Articles we think you'll love


